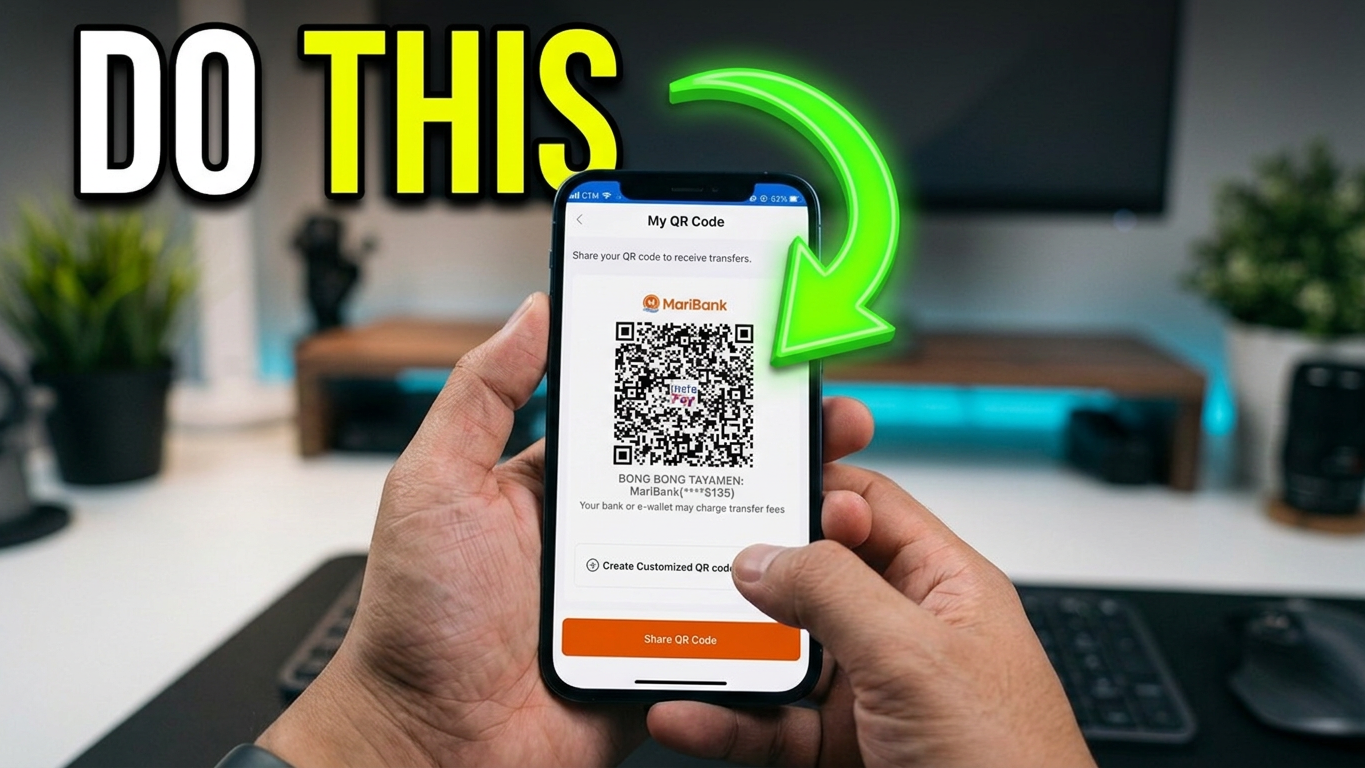
Transferring money between digital banks and e-wallets in the Philippines has become faster and far more reliable thanks to QR Ph, the country’s national QR code standard. Instead of manually typing a long 11-digit account number and worrying about sending your hard-earned cash to the wrong person, you can generate a personal QR code directly inside your MariBank (formerly SeaBank) app and scan it using GCash.
Whether you are moving ₱3,000 into your MariBank savings account to earn daily interest or requesting a specific payment from a friend or buyer, creating a customized MariBank QR code takes less than a minute. This guide walks you through everything you need to know—from generating a standard or fixed-amount QR code on MariBank to completing the transfer inside GCash, along with limits, fees, and troubleshooting tips.
Why Use a MariBank QR Code for GCash Transfers?
Before diving into the steps, it helps to understand why generating a QR code is the smartest way to fund your MariBank account from GCash:
- Zero Typing Errors: Manual bank transfers require selecting the right bank name (MariBank Philippines, Inc.) and entering your exact account number. A QR code automatically embeds your account details so every digit is 100% accurate.
- Custom Fixed Amounts: MariBank lets you lock in a specific peso amount—such as ₱3,000—when creating your QR code. When the code is scanned in GCash, the amount appears automatically without needing manual entry.
- Instant InstaPay Processing: QR Ph transfers between GCash and MariBank run on the InstaPay network, meaning your funds arrive in real time, 24/7, including weekends and holidays.
- Easy Sharing for Payments: If you run a small online business or split bills with friends, you can save your MariBank QR code to your phone gallery and send it over Messenger, Viber, or email.
How to Generate Your MariBank QR Code
You can create two types of QR codes in the MariBank app: a Standard QR Code (where the sender types any amount) or a Customized QR Code (where you pre-set an exact amount up to ₱50,000). Follow these steps to generate yours:
Step 1: Log In to Your MariBank App
Open the MariBank mobile app on your Android or iOS device. Sign in using your registered PIN, fingerprint, or Face ID. Make sure you have a stable internet connection so the QR generator loads smoothly.
Step 2: Tap “Scan & Pay” on the Homepage
Once you land on your main MariBank dashboard, look at the quick-action icons near the top or center of the screen. Tap Scan & Pay. Even though this button opens the camera scanner by default, it also houses your personal QR code generator.
Step 3: Select “Generate QR”
On the Scan & Pay camera screen, look toward the bottom of the interface and tap Generate QR. The app will immediately display your My QR Code screen featuring the official QR Ph logo in the center, your masked account name, and your MariBank account details.
Step 4: Customize the Amount (Optional, e.g., ₱3,000)
If you want to transfer a specific amount—like ₱3,000—without typing it later in GCash, follow this extra step:
- Tap Create Customized QR code below your standard QR image.
- Enter your desired transfer amount (for example, 3000.00). Note that MariBank allows customized QR amounts up to ₱50,000.00 per transaction.
- Tap Confirm or Generate. Your QR code will update with the locked-in amount displayed right beneath it.
Step 5: Save or Share Your QR Code
To use the QR code inside GCash on the same phone, you need a copy saved to your photo gallery:
- Tap Share QR Code to save the image directly to your device or send it to another app.
- Alternatively, simply take a screenshot of the QR code screen. Make sure the entire square code and the QR Ph border are clearly visible and not cropped out.
How to Scan and Pay Your MariBank QR Code Using GCash
Now that your MariBank QR code is saved in your phone’s gallery, you can complete the transfer inside GCash in seconds:
Step 1: Open GCash and Tap “QR”
Log in to your GCash app using your MPIN or biometrics. On the bottom navigation bar of the home screen, tap the blue QR icon in the center.
Step 2: Upload the QR Code from Your Gallery
When the GCash QR scanner opens, tap Upload QR (or the gallery/image icon usually located in the upper-right or bottom corner of the scanner screen). Browse your phone’s photo album and select the MariBank QR code screenshot or saved image you generated earlier.
Step 3: Verify the Recipient and Amount
GCash will automatically read the QR Ph code and take you to the payment confirmation screen. Take a moment to verify two critical details:
- Recipient Name / Bank: Ensure it shows your name and MariBank (or SeaBank/MariBank Philippines).
- Transfer Amount: If you generated a customized QR code for ₱3,000, the amount field will automatically display 3,000.00. If you used a standard QR code, type 3000 into the amount box.
Step 4: Confirm and Complete the Transfer
Review the transaction summary—including any applicable InstaPay convenience fee—and tap Next or Pay. Enter your 4-digit GCash MPIN if prompted, or tap Confirm to authorize the transfer.
Step 5: Save Your Digital Receipt
Once the transfer succeeds, GCash will display an official digital receipt with a reference number. Take a screenshot of this receipt for your records, then open your MariBank app to confirm that your balance has updated.
Important Limits, Fees, and Tips to Keep in Mind
Before making regular QR transfers between GCash and MariBank, keep these key details in mind:
- Transaction Limits: MariBank’s QR Ph feature supports single transactions of up to ₱50,000.00, aligning with standard InstaPay per-transaction limits in the Philippines. Make sure your GCash wallet also has enough outgoing wallet limit remaining for the month.
- Transfer Fees: Standard InstaPay bank transfers from GCash typically carry a ₱15.00 convenience fee, though occasional QR Ph promos or partner cash-in methods may waive fees. Always check the confirmation screen in GCash before tapping Pay so you know the exact total deducted from your wallet.
- Keep Your Apps Updated: If GCash fails to read your MariBank QR image, check the Google Play Store or Apple App Store to ensure both apps are running their latest versions.
- Avoid Cropping the QR Code: When taking a screenshot of your MariBank QR code, leave plenty of white space around the black square pattern. Tightly cropped QR codes can cause scanner errors when uploaded to GCash.
- Security Reminder: Never share screenshots of your transaction receipts publicly with your full account details exposed, and only generate QR codes inside the official MariBank app.